
Have you all been just itching to see what's behind my closet doors since you read my teaser post last week?!? :) Just kidding! But I really could not show you what my closet looked like with out being able to show you the pretty makeover part of it.....I didn't want you all to stop reading and run screaming from your computer screen.

Before I show you -- this is the closet in our entry way of our house. It's one of my favorite things about our house. It's a huge closet my dad put in that's almost the same size as our entry. It's a fantastic storage area -- for everything from shoes, to coats, to Christmas boxes, -- we store a LOT of stuff in there. Alright -- it's time for the before picture.


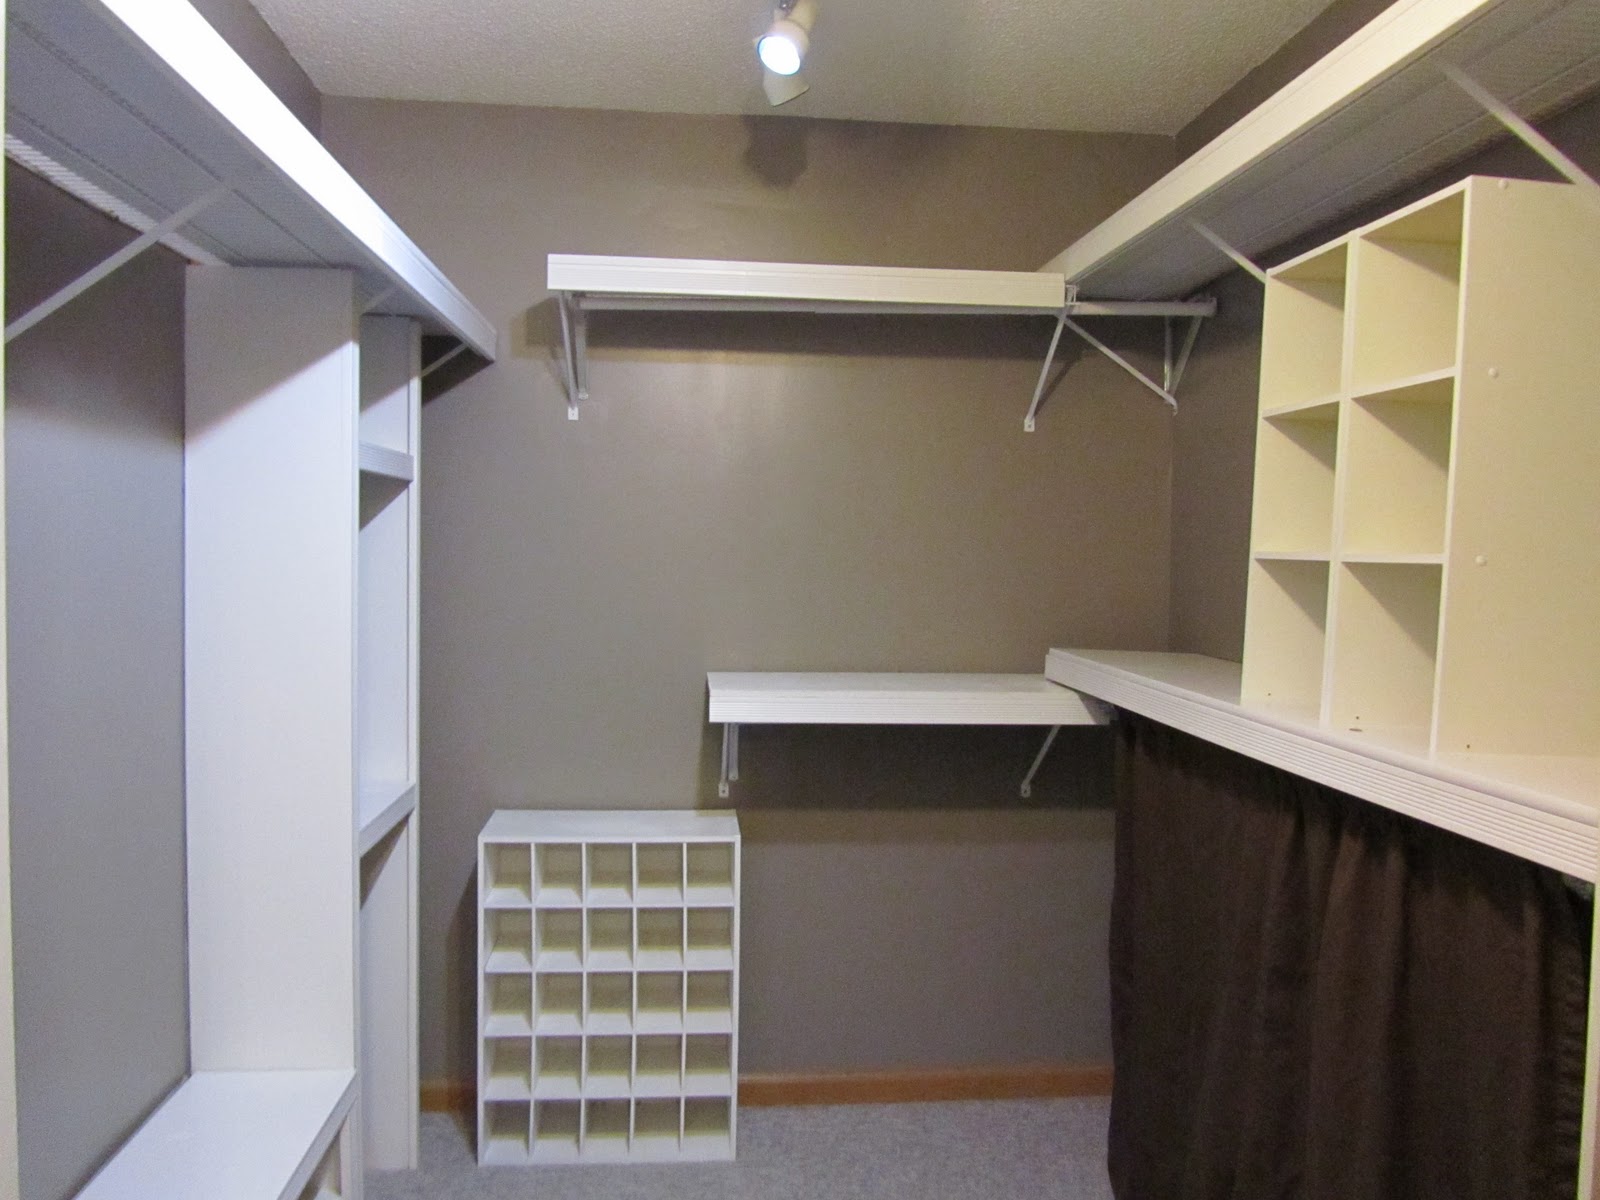
EEK! See what I mean? I'm really not a complete slob -- I promise!! :) It just was a poorly organized and designed space -- and it needed help. Especially since when people come over I ask them to put their shoes in there so our dog doesn't take them an hide them. How embarrassing -- at least I could ask them to put their shoes in a cute closet -- right!?! I wanted to leave as much of the middle open as possible -- not only does it make the space look bigger, but then there's more space for guest's shoes and purses and bags.

So step one was to clean, clean, clean. Seriously -- it took me almost as much time to clean out the closet as it did to make it pretty. Plus this was a good time to go through coats and shoes and give them away.

Once it was all cleaned out and I had a clean slate to work with, I painted the walls. I chose a darker color because I knew I wanted to paint the shelves white and I felt dark would be okay. I was a bit nervous since I'm usually a play-it-safe-neutral/light-colored painter. But I absolutely LOVE the color I picked. It could be my new favorite. It's a little grey, a little brown and a little purplish -- perfection!

Next step was to install shelves. I drew up plan before I started and made my plan specific to what I needed to store in that closet. Some of the main components being stashed in there are coats, shoes and boots, luggage and Christmas boxes. We also keep some of our counter top kitchen appliances in there -- you know the ones that you don't use every day. Knowing what I wanted to store made it 100 times easier to decide what kind of shelving I wanted to do. I also knew that we wanted a place to sit down near the shoes to take them on and off. And I knew I wanted a mirror so I could make sure the was no paint or sawdust in my hair before I leave the house. :)

My first part of the shelving was to cover up the wire shelves that were there already. I could have taken them down and put up similar shelves, but I figured I could work with what was there -- plus they were really secured into the drywall and studs. My solution was to just cover them and make them prettier. :)

I bought white shelving boards that were the right depth and cut them to the length of each shelf. I laid them on the top of the shelves and then took trim and attached it to the bottom. I actually missed one of my shelves when I was measuring so I had to improvise with regular boards instead of the white shelves. It ended up working out just fine though -- nothing that white paint won't fix! :)

Once the shelves were all up and covered I got down to the bench and shoe shelf. I attached a 1 x 12 (cut 18" high) to the firmly secured shelf that was already there (you could attach it to a wall, or use a shelving bracket to secure it to a stud).

I then cut two pieces of wood the same size for the other "legs". I laid a long board over that to act as the top of my bench. Once the frame was built for the bench, I added a decorative trim to dress it up.

I did the same thing for a "luggage cubby" I built to house all our luggage and bags.

The last thing I did was I hung an unused curtain underneath one of my lower shelves. I hid our fold table and chairs behind there along with some odds and ends that don't have a great place to go in my closet.

I just had to take a picture of it's beauty before I filled it up with all our junk :)
And then I filled it up with anything and everything that would fit in there -- okay not really, just the things that were in there before.


Okay, so I know it looks like we have about a million coats, but in all fairness we DO live in Minnesota. :)

And here's my favorite part of the whole closet -- where I added a mirror and some hooks above our new bench.

How 'bout a side-by-side before and after....just for kicks:


I was SO excited because we were still able to store everything in there -- just much prettier! Don't you think??

Linking up to:
Mondays:Between Naps on the Porch ; C.R.A.F.T; Craft-O-Maniac; Keeping it Simple; Mad in Crafts; Making the World Cuter; The DIY Showoff; The Girl Creative Tuesdays: All Thingz Related; House of Grace; I'm Topsy Turvy; Lucky Star Lane; Sugar Bee Craft Edition; The CSI Project; These Creative Juices; Today's Creative Blog Wednesdays: Blue Cricket Design; Creations by Kara; Debbiedoos; Domestically Speaking; My Backyard Eden; Night Owl Crafting; Seven Thirty Three; Someday Crafts; The Thrifty Home; Trendy Treehouse Thursdays: Beyond the Picket Fence; Craftastical!; Fireflies & Jellybeans; House of Hepworths; Life as Lori; Somewhat Simple; The Shabby Chic Cottage Fridays: Chic on a Shoestring; Finding Fabulous; Fingerprints on the Fridge; Frou Frou Decor; Frugal & Fabulous Design; It's a Hodge Podge Life; It's Fun to Craft!: Just a Girl; Remodelaholic; Simply Designing; The Shabby Nest; Tatertots & Jello Weekend: A Little Lovely; Be Different Act Normal; Funky Junk Interiors; House of Thrifty Decor; I Heart Naptime; Kuzak's Closet; Under the Table & Dreaming


44 Hand-Me-Downers Shared:
WOW! What a great transformation!!!
I love everything about it! That bench is great. How nice to have so much space. So glad you finally shared, we were all going to get together and knock your door down and have a look for ourselves.
This is wonderful! You did a fantastic job!!
this really turned out wonderful!!!! great work!
Although that is definitely an awesome closet and transformation...I'm totally staring at all your cute coats! Sorry - can't help it :)
Wow! That's a ton of storage! Well done.
S
xo
you should be excited this is a fantastic re-do...all homes should have this but i would need oh least 4 prolly seriously this is just great
That is amazing and so are you! Really a great redo of a closet!
Aww, I love the mirror and bench! Super cute! :]
Wow, first of all, I'm so jealous of that big space! Love the color you used. The bench area is just a great idea.
Wonderful job!
Wow! Looks really great!!
That's an amazing transformation! Very cute and I love the mirror and bench. What I wouldn't give for a closet like that!!!
LOVE the bench area - great idea to have a mirror as well - totally completes the dressing room! :)
oh my GAWSH!!! I never knew I wanted a walk in front hall closet until NOW!!
I love how this is like a mudroom/coatroom/closet/storage and more. So so fantastic. and I love the grey walls.
Great job!! It looks CUSTOM!
Love this! I'm so jealous... I have almost zero front entry space! Also, we have a fair amount of that white wire shelving around our home... I love the idea of just covering it up instead of completely replacing it!
I love it so much! I really love organization :) GREAT JOB!!
I love, love, love it! I really like the color and all the organization...and just a tad jealous of such an AWESOME closet! I can see how living in Minnesota would require a big closet for all your coats and boots and stuff! I am a little curious as to why you didn't paint the wood trim white inside the closet??
Great job!
Love it! I want to do this to our master closet that is a bit out of control at the moment!
That closet is HUGE! I wish I had a closet like that in this house! Looks great! I bet you feel so much better now to have it nicely organized.
Looks so good! I might steal your idea to dress up those basic-builder shelves. Easy way to make them look much nicer!
What an amazing closet first of all!! I am so jealous of the size!! You made it look wonderful! All your selves that you added are so clever and I love the paint color. Doesn't it feel great to step into a space and be able to see what you are looking for!! :) Well done!!
VERY nice! Looks great! And it looks like you have some cute coats : )
looks great, Amanda! Gosh I wish I had an entry closet like that! Ours is the size of a pea. The bench and mirror are awesome. I totally want something like that, but have no spot to put it. (ps, I understand about the coats. We live in wisconsin and you just can't make it with just a winter coat. you need a two, dressy and casual, plus parka for January. AND a a fall coat that is slightly lighter and a spring coat that's slightly lighter than that. :) )
Great job!! I don't think I knew you lived in MN. We do too!! :)
The shoe organizer/bench was a fantastic idea for the closet. That is such a great way to use the space in the closet.
-Kim
Great job!
I SOOOO wish my closet looked like that!!
This is wonderful! You did a fantastic job!! (2)
I loved! :)
I think you kicked serious booty!
Nicely done! And what a great, huge space!
Amanda, it looks amazing! May I send you directions to MY closet? It is in dire need of help.
Most people will be surprised by how great it looks.. but I'm not.. Everything you touch always looks amazing!! Awesome job Amanda!
What a great closet! The befores were not really THAT bad, but the afters- wow! Gorgeous! Love your new built ins and pretty fix ups for the old wire shelves. Great job- thanks for sharing!!
How great to have a closet by the entry to begin with! Love the bench and all that space for coats, etc.
That closet looks fab! Wish I had one.
Brooke
awesome! you are amazing girl!! looks great! i wish i had a closet to do all that to.
one day girl, one day!
VERY NICE!!! Sorry, I hate when people write in all caps, but seriously that looks fabulous.
Brittany
http://www.prettyhandygirl.com
Hi there! I am your newest follower from the Wednesday link up. Lovely blog:) You can find me at www.bouffeebambini.blogspot.com
What a great idea... love your closet transformation! Thanks for linking up to the PoPP.
WOW...you turned that into a great space! Thanks for linking up with Anything Related! ~Bridgette
What a GREAT makeover! Now I wish I had a full walk in closet! It looks great. I'll be featuring this on Monday! Thanks for linking up to Topsy Turvy Tuesday's.
That looks great! I'm loving the trick for making wire shelves pretty! And I totally understand the mass of coats--we live in Chicago.
You are inspiring me to get to my closet and clean it out! Your closet is so clean and organized! Can closets be pretty? Well your closet is pretty!
That looks great! it's like a whole mudroom/closet/storage- just an all in one room! It is amazing what soem organizing and rearranging can do. Be blessed, Karyl =0)
Post a Comment
Thanks so much for taking the time to comment! I read every single one...and LOVE visiting all your blogs in return!
Note: Only a member of this blog may post a comment.