Friday, July 16, 2010

It's Time...

Well as I promised...I have something I'm pretty excited to share with you today.....


A GIVEAWAY!  


CSN has been wonderful enough to give away a $40.00 gift certificate to one lucky reader!   

They have only like a billion fabulous goodies on their websites.  I personally have been eying all the awesome deals they have on their dining room site.  

(A huge gust of wind took our patio table crashing down a few weeks back and well -- it's time for a new glassless table).  Currently I'm in love with this one they have.


You can see all their websites here and check out all the fun things you could use your $40.00 gift card on.
Their selection of products are ENDLESS!  You can find shoes, purses, wall art, exercise equipment, furniture, kitchen items .... seriously, it’s never ending!


So..."how do I win this fabulous prize?" you ask??


I've made it oh-so easy - there are three ways to enter (do one, two or all three!!):


1.  Leave a comment (be sure to leave an email if you don't have a blog)
2.  Become a follower (and leave another comment that you are follower)
3.  Post a link back to the giveaway on your blog (and leave a comment that you did)


I'm leaving the giveaway open until the end of the day, next Wednesday, July 21, 2010. 


Thursday, July 15, 2010

Stay Tuned...

I don't know if you've noticed....but there's something very exciting going on in the left-hand sidebar.  Did you see it?  There are over 200 followers reading my little ol' blog!  Can I tell you how excited this makes me?!?!?  I was excited to have 2 followers - let alone 200!  You guys are so wonderful - I love all your wonderful comments and sweet emails....and I LOVE all my fabulous followers!  It's you who makes blogging so much fun and so enjoyable.  And to celebrate this little milestone, I've got a little something I think you may like -- so stay tuned for this Friday's post. :)


I also wanted to share with you two very talented bloggers who made some of their own lights from some of my light tutorials.

First, meet Chris at Us and Them....she redid their entry light to be more Pottery Barn-esque.  Do you just LOVE how her new chandy turned out??

Thanks so much for sharing, Chris!  You did a WONDERFUL job!!  And it looks fabulous hanging in your entry.  :)


And then there's Heather from the Traveling Thrifter.    She took her own Mason Jars she had at home and made some herself some SUPER cute new solar Mod Podge lights.

Heather, I love how you had a creative solution to your too-big-jars - they look awesome!  Thanks so much for sharing!!


We'll see all you fabulous bloggers tomorrow -- I'm REALLY excited!!


Wednesday, July 14, 2010

Mod Podge Strikes Again


So this is another one of those "use what you have" projects.   I always have left over "parts" or supplies from other projects that I do.  I suppose most people would just throw away something they didn't use....but not me.  I CAN'T throw things away ... I might need to use that sometime within the next 20 years.  Is this how hoarding starts??? Let's hope not.  I don't want to end up with a maze through my house full of "I might use this" finds.

My left overs today are from my favorite project so far......the Pottery Barn Light.  

Are you tired of hearing about this light yet?  I can't help it!  I had so much fun transforming that light.  And don't tell -- but sometimes I go turn it on just to revel in it's knocked-off glory.   When I originally got the light (thank you Craigslist!!), it had a lantern-ish glass case around it.


I knew I would be able to use the glass case, but  until a few weeks ago, I hadn't decided what I wanted to use it for.   I figured it would make an awesome outdoor lantern.  I honestly thought this was such an original idea...but sadly, it's not.  Since I had my idea I've seen other crafty bloggers turning their outdated lights into PB-style lanterns.  So here's my twist on it.

Here's my light part that was left over (yikes - dust! It was out in the garage....I promise!).

I took my Mod Podge/Food Coloring mix and slathered it on my new lantern.  For those of you curious about the exact mixture, I don't have one.  It's a "I-think-this-looks-good" method.  But if I were to guess, I would say I use about 1/4 cup of Mod Podge and 5-7 drops of neon blue food coloring and 3-5 drops of neon green food coloring.  You'd be surprised how far that 1/4 cup of Mod Podge will go - so use it sparingly!
It's a little scary looking at first, but it definitely turns out in the end.  The next step was to stipple the Mod Podge with a paper towel, so it looks like this:


Then I tried something a little different.  I baked it.  Yes, that's right I put my lantern in the oven.  I saw this on Autum's blog, Creative Little Daisy.  She has some detailed instructions on baking the Mod Podge mixture.

I baked mine at 175 degrees for about 25 minutes until it looks like stained glass.

NOTE:  The regular Mod Podge is not water-proof.  Sooooo, if you are going to use whatever your Mod Podging for outside - get the Outdoor Mod Podge - that stuff will stick! :)

Next I painted the gold "trim" on the lantern black - I painted it by hand becuase I was getting really frustrated with taping it off. But I'm sure if you had more patience than me you could tape off the gold and give it a good spray-paint.  That was it.....and here she is!


I have to say, I certainly got my money's worth out of that Craiglist chandelier.  And the money-saving projects I got out of this one ugly chandy have far outweighed the weird looks I got from the gal I bought it from.


Linking up to:
Mondays:Between Naps on the Porch ; C.R.A.F.T; Craft-O-Maniac; Keeping it Simple; Mad in Crafts; Making the World Cuter; The DIY Showoff; The Girl Creative Tuesdays:  All Thingz Related; House of Grace; I'm Topsy Turvy; Lucky Star Lane; Sugar Bee Craft Edition; The CSI Project; These Creative Juices; Today's Creative Blog Wednesdays:  Blue Cricket Design; Creations by Kara; Debbiedoos; Domestically Speaking; My Backyard Eden; Night Owl Crafting; Seven Thirty Three; Someday Crafts; The Thrifty Home; Trendy Treehouse Thursdays: Beyond the Picket Fence; Craftastical!; Fireflies & Jellybeans; House of Hepworths; Life as Lori; Somewhat Simple; The Shabby Chic Cottage Fridays:  Chic on a Shoestring; Finding Fabulous; Fingerprints on the Fridge; Frou Frou Decor; Frugal & Fabulous Design; It's a Hodge Podge Life; It's Fun to Craft!: Just a Girl; Remodelaholic; Simply Designing; The Shabby Nest; Tatertots & Jello Weekend:  A  Little Lovely; Be Different Act Normal; Funky Junk Interiors; House of Thrifty Decor; I Heart Naptime; Kuzak's Closet; Under the Table & Dreaming


Monday, July 12, 2010

Dressing Up a Boring Shelf

THIS POST IS SPONSORED BY:


Let me start by telling you....I LOVE TARGET!   And because we're Target-Loving people, we have a decent amount of furniture from the bulls-eye store.  And don't get me wrong, I LOVE it; but sometimes I get a little bored with the plain-jane look of it. 

Case in point, exhibit one.  We've had this shelf for a few years - and like most of our Target furnishings I'm sure we got it on clearance for some ridiculously low price:


BO-RING!

Well first things first -- I removed the cardboard backing


The next thing I did was take some of my Mod Podge (yes, this has become an obsession) and Mod Podged some lovely scrapbook paper on the cardboard.  I thought about this afterward, and you could just cover the whole back cardboard with a nice fabric -- it probably would have been easier, cleaner and there wouldn't be any seems....but a good idea too late for me, so we used scrapbook paper.


I liked the look of it, but I wanted to spruce up my shelf even more.  Wouldn't some glass doors look elegant??  Well I thought so too. :)


Now, I will preface this with some encouragement; don't be scared of cutting your own glass panels.  It's easier than you'd think.  I put this project off for a few weeks because I was so unsure of how to do it and so worried I would do it wrong.  Well I successfully cut my glass panels - and believe me, if I can do it without slicing up a finger or breaking glass all over the place -- so can you!!

The first (and most important part) was to measure my shelf.  I'm no math buff, but see if you can follow my logic of how to measure and calculate the size of my glass.

1.  Measure the width of your shelf from inside the edges - so you are measuring the open space inside the shelf (mine was 26")
2.  Divide the number in half (mine would be 13") - this is the width of each door
3.  Now take the number from #2 and subtract double the width of your trim. (I used 2" trim so I would take 13 - 4 = 9")  This is for the trim on either side of the glass.
4.  Add 2" to the total for #3 (mine would be 11") - this is for the ledge that the glass rests on  - this is the width of your glass.

Now to measure for the length:

1.  Measure the length you want your doors to be.  (Mine was 38")
2.  Subtract double the amount of your trim (I used the 2" trim so it would be 38 - 4" = 34")
3.  Then add 2" for the lip where the glass will rest (for me it would be 34 + 2 = 36")

So I needed to cut my two glass panels at 36 x 11.

So I went to the hardware store and bought two glass panels (they happened to come in a 36" length -- LUCKY ME!!).  The panels were around $7.00 a piece.


I then bought a glass cutting kit (around $11.00).

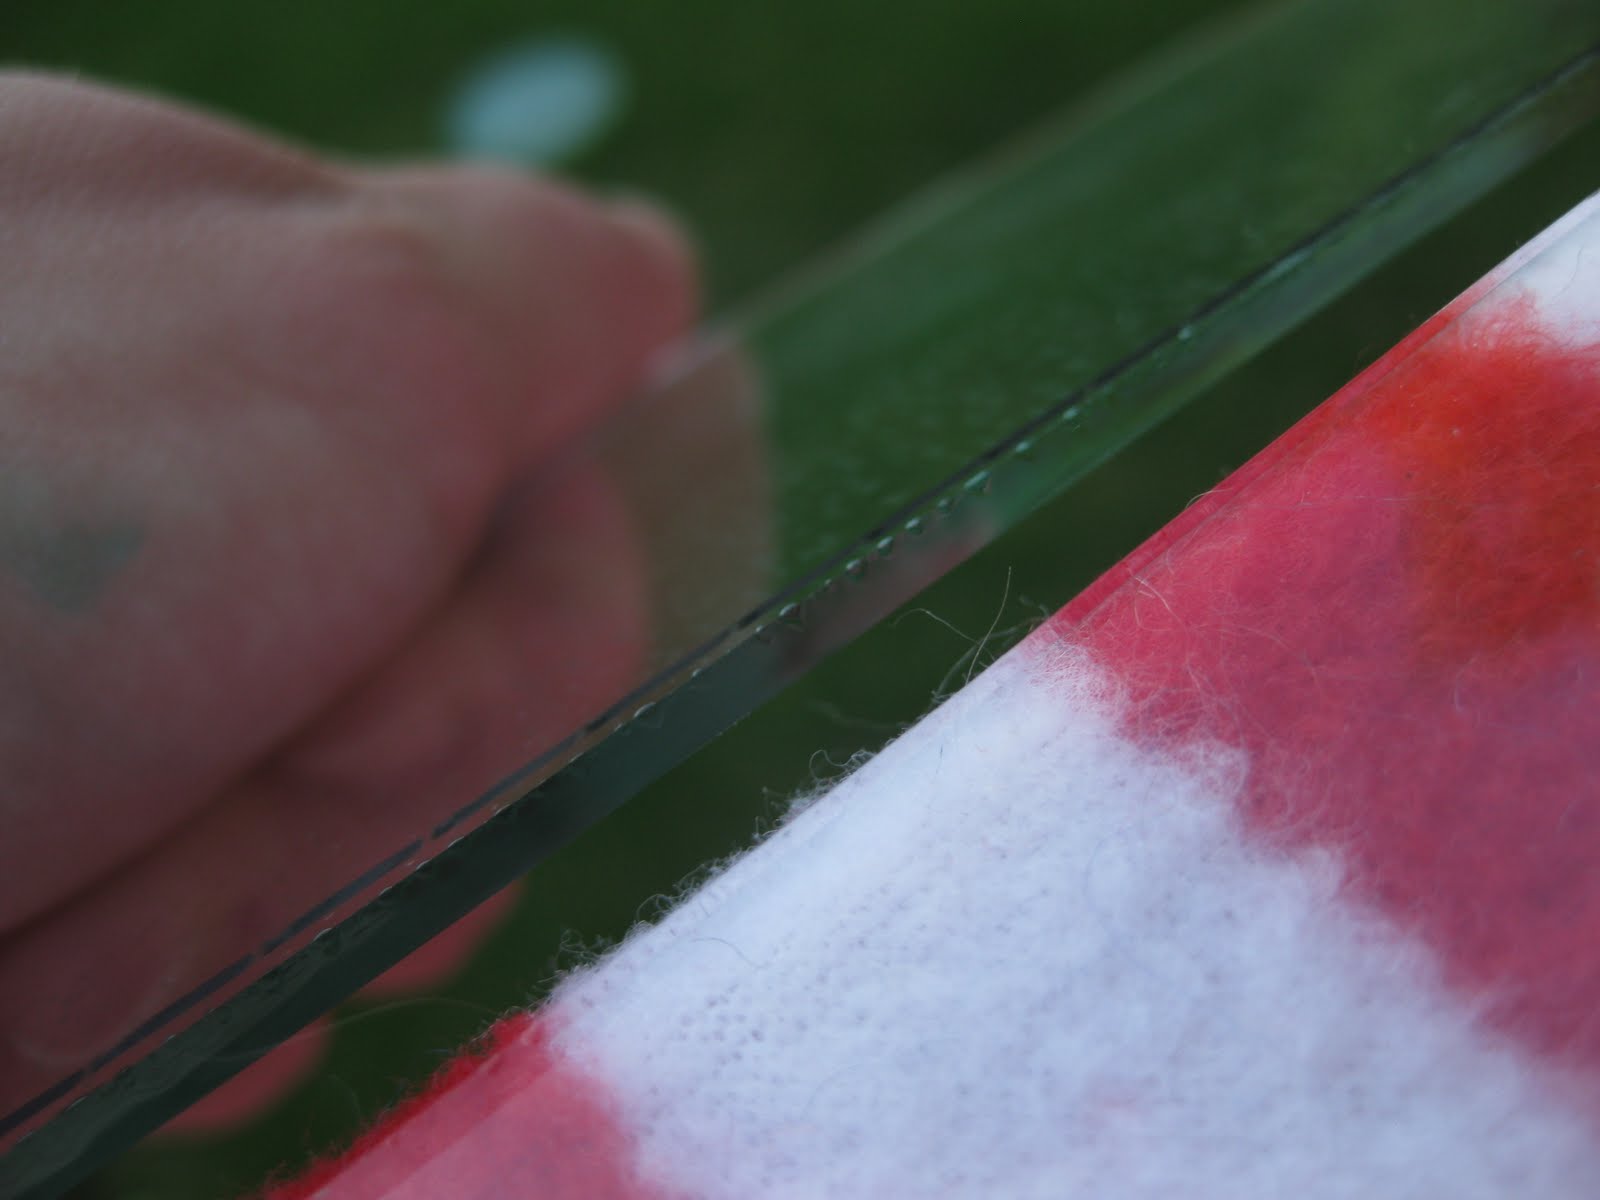
Read the instructions - and then follow them to cut the glass -- easy as that!  I measured my new width and marked it out on the glass panel with the special pencil in the kit.


Then I took the little cutting tool that came with it and dipped it in the glass cutting oil. 


Next I scored the glass along my line I drew.  NOTE:  I had the glass laying on a soft plush blanket to protect the glass.  I also had to press REALLY hard to score the glass.


Once it is scored, you can gently press the glass down over a ledge to break off the peice you cut.  It should break in one smooth peice.

It's easier than it sounds -- I promise!

Well now that we have our glass it's time to make the doors and cut the trim to lay the glass in.


I took a 1/4" piece of plywood and used a jigsaw to cut out a rectangle.  Think of it like cutting a picture frame out.  You want an opening that is just lightly bigger than your glass pieces with a 1" to 2" frame around the opening.

First I drew out a rectangle (I traced my glass pieces for accuracy).  I then drilled a hole in the corners of each rectangle so I could get my jigsaw started.

Then I cut out my rectangle frames.

Then I attached (by nailing and gluing) the trim on my to my frames.  You will want the trim to stick out beyond the inside of your frame (this is where your glass will lay.


Here's my trim all glued on (the plywood frame is on the back).  Next I spray-painted my door frames and shelf to match.

It is now time to put the glass into the frames.

Flip the frame so that the back is facing up.  Use clear silicone or glue and run it along the inside ledge where the glass will sit.


Lay the glass in and smile at your accomplishment. :)


That's it -- attach the doors to your shelf with two hinges on each door and admire:


I'm in love with my "new" Target bookshelf!  Shall we see another before and after??


Linking up to:
Mondays:Between Naps on the Porch ; C.R.A.F.T; Craft-O-Maniac; Keeping it Simple; Mad in Crafts; Making the World Cuter; The DIY Showoff; The Girl Creative Tuesdays:  All Thingz Related; House of Grace; I'm Topsy Turvy; Lucky Star Lane; Sugar Bee Craft Edition; The CSI Project; These Creative Juices; Today's Creative Blog Wednesdays:  Blue Cricket Design; Creations by Kara; Debbiedoos; Domestically Speaking; My Backyard Eden; Night Owl Crafting; Seven Thirty Three; Someday Crafts; The Thrifty Home; Trendy Treehouse Thursdays: Beyond the Picket Fence; Craftastical!; Fireflies & Jellybeans; House of Hepworths; Life as Lori; Somewhat Simple; The Shabby Chic Cottage Fridays:  Chic on a Shoestring; Finding Fabulous; Fingerprints on the Fridge; Frou Frou Decor; Frugal & Fabulous Design; It's a Hodge Podge Life; It's Fun to Craft!: Just a Girl; Remodelaholic; Simply Designing; The Shabby Nest; Tatertots & Jello Weekend:  A  Little Lovely; Be Different Act Normal; Funky Junk Interiors; House of Thrifty Decor; I Heart Naptime; Kuzak's Closet; Under the Table & Dreaming


Related Posts with Thumbnails